Wizard Recommends
-
 $11000 Welcome Bonus
 -
 $3000 Welcome Bonus
 -
 UP TO $777 BONUS
Zion Subway
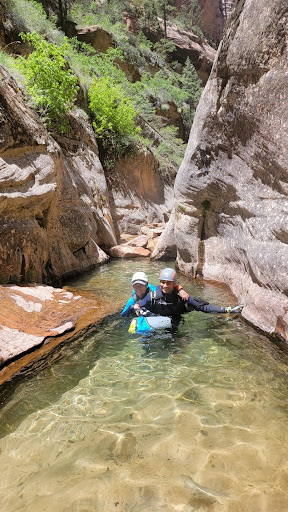
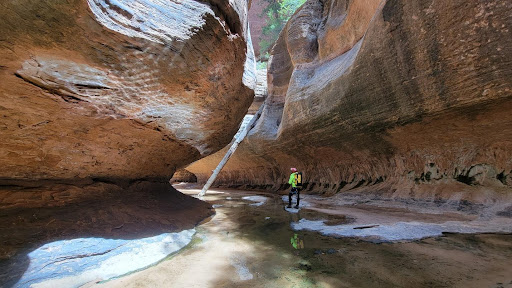
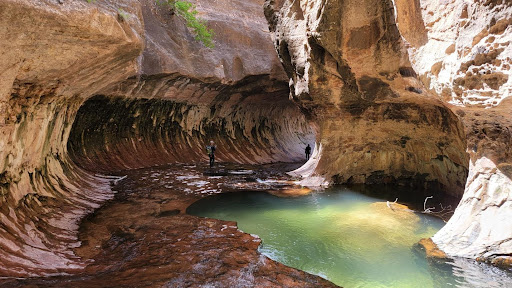
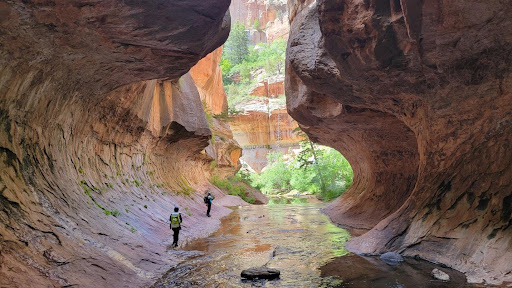
This week I’m happy to cross off the Zion Subway from my bucket list. You may not recognize the name, but you might recognize pictures of it. The fancy Vegas casinos often have galleries of photographs of places in the southwest like the Grand Canyon. Invariably, they will have some from the Subway. It is in a part of Zion National Park that few visitors see. It’s difficult to get permits to do it and actually doing it is not easy. I also think many people confuse it with the Narrows, which gets significantly more tourist traffic. I have done a fair bit of hiking, backpacking, and canyoneering, especially in the southwest and can say without hesitation this is one of the best experiences outdoors I have ever had.
A friend of a friend organized a six-person trip some time ago, including procuring permits. Someone on the list had an injury and had to drop out. Fortunately for me, a mutual friend on the list recommended me as a replacement. When I was offered the open spot, I enthusiastically accepted.
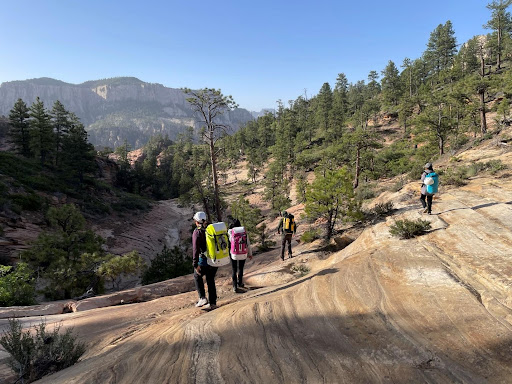
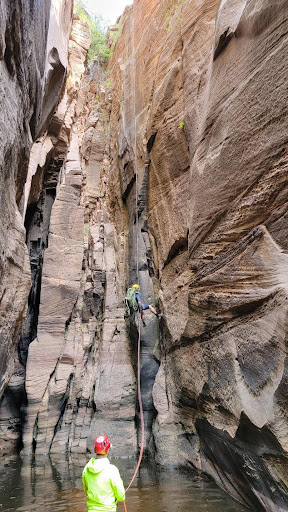
There are a number of ways to do the Subway. One is an up and back hike out of the Wildcat Canyon trailhead. While this is still a great time, one would not see the entire Subway. The better way to do it, in my opinion, is to take a side canyon that leads into the Subway and hike out to the aforementioned trailhead. This method does require a car shuttle. The way we did it was to rappel into the Russel Gulch, which feeds into the Left Fork of North Creek, which goes through the Subway.
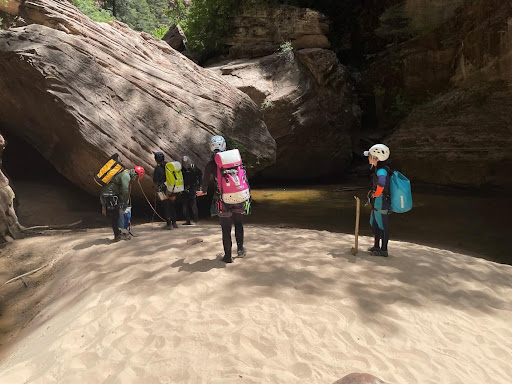
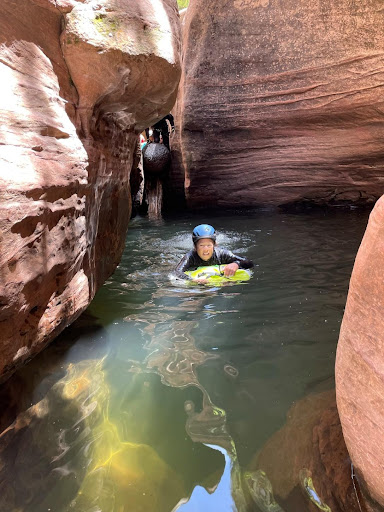
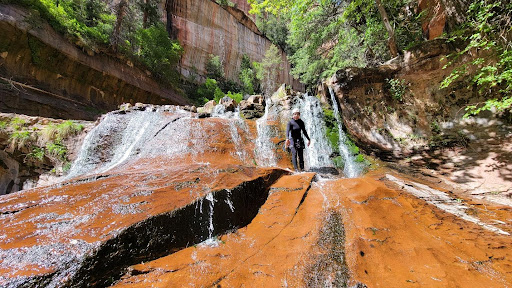
This is the kind of trip where pictures are worth more than words. That said, here are just some of the many pictures taken by my group of six. I did my best to keep the pictures in order, but with six different photographers, it was hard to do.

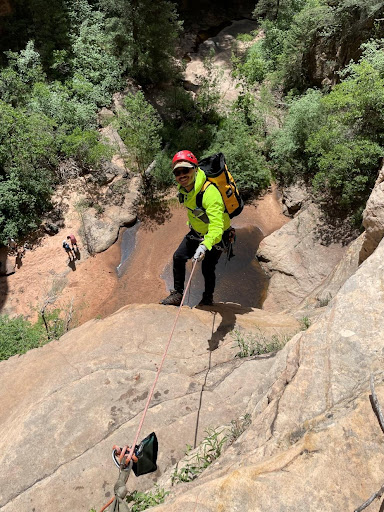
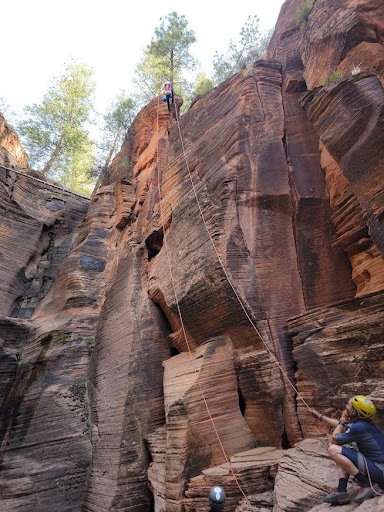
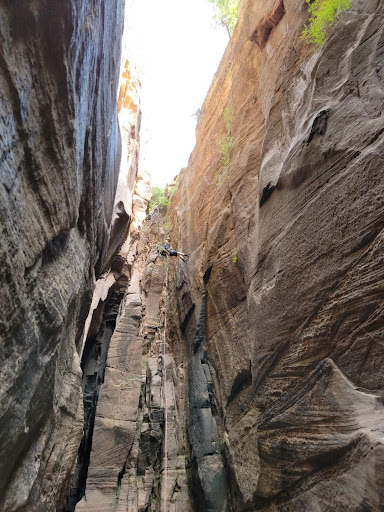

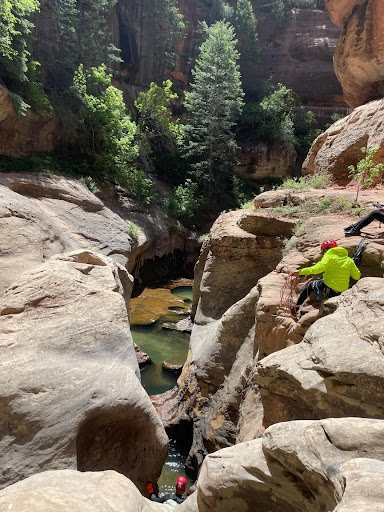

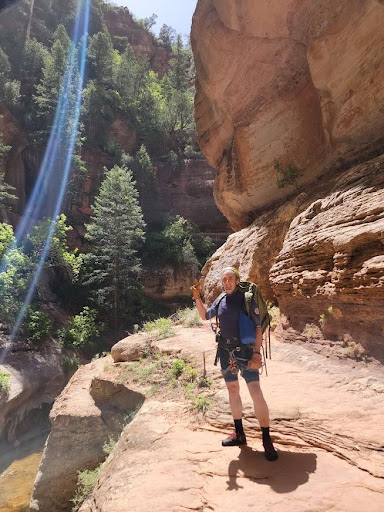
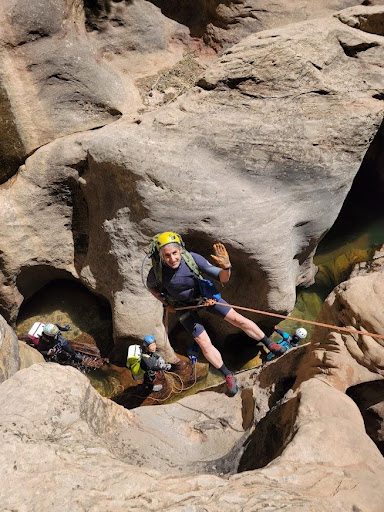
Doing the Subway, the way we did it, requires canyoneering skills, including rappelling. Do not attempt it without experience. You absolutely need to have a leader who has done it before, preferably multiple times. Otherwise, it will be a very difficult route to follow getting to the first rappel. The exit from the canyon is also poorly marked and easy to miss.
Here are a few things I would do differently next time.
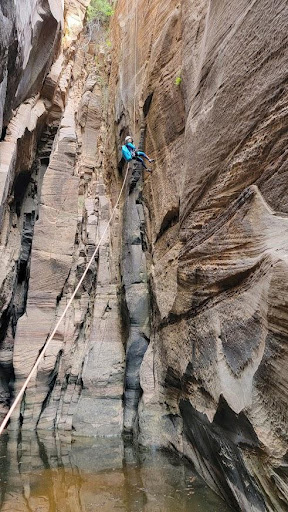
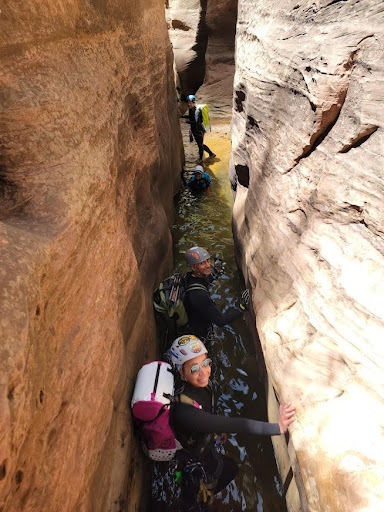
- Bring a full body wetsuit, as opposed to a shortie (like I had). We did this on May 20 and the water was still very cold. The rest of the group in long wet suits seemed to pity me as I was shivering in the wettest parts of the canyon.
- I took along too much water and ended up dumping much of it. One doesn’t need as much water when it’s cold and you’re wearing a lot of clothing. Your body loses water in part according to how hot it is and how much skin is exposed to the air.
- I should have taken a back-up battery. I used my mobile phone to both track the hike and take lots of pictures and videos. Half-way through it was down to about 20% power, so I had to quit tracking.
- Bring good dry bags. These are supposed to keep your stuff dry inside your backpack. However, one of mine, the only one made by Sea to Summit, leaked and all my dry clothes got soaking wet. It would have been nice to have dry clothes to change into getting out of the Subway, but thanks to a defective product by Sea to Summit I had a pile of cold wet clothes. Next time, I will test them in a swimming pool.
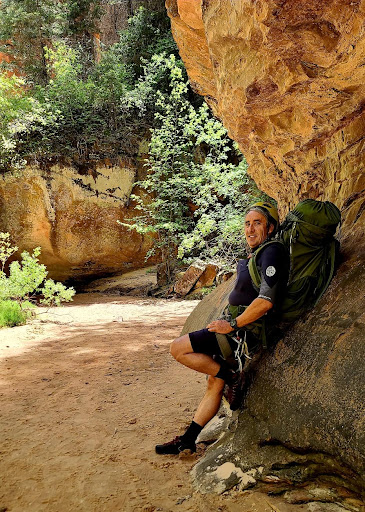
One thing I was stressed about before the trip was whether I needed a proper canyoneering bag, as opposed to the backpack I did bring. The advantage of a canyoneering bag is they are made of plastic and thus don’t absorb water, like a canvas backpack. However, they are not as comfortable as a backpack and don’t have lots of outside pockets for easy access to small items. I was the only one in our group to not have a canyoneering bag and I have no regrets about that.
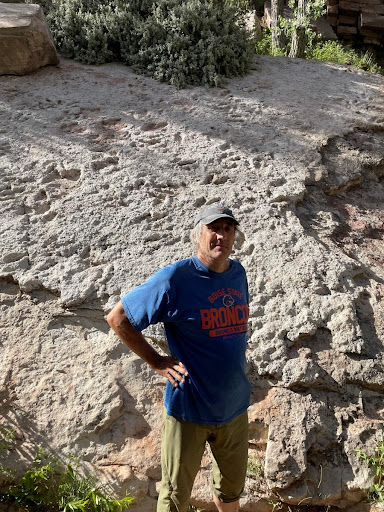
In closing, I would like to say the trip was an enormous success! My teammates, Luis, Carlton, Patti, Teresa, and Mileth did a great job and were very fun to spend a few days with. I would especially like to thank Luis for procuring the permits, leading the trip, and for an outstanding taco dinner at our campsite the next day.